A closer look into the customer profile access and creation
1. Upon successful login, navigate to the left-hand menu.
2. From the modules listed here, click the

icon. Doing so takes you to the Customers screen.

3. The screen starts off with the Customer base heading under which 4 tiles are present to display meaningful information. They include a count of total customers, card transactions, reviews, and an overall feedback rating.
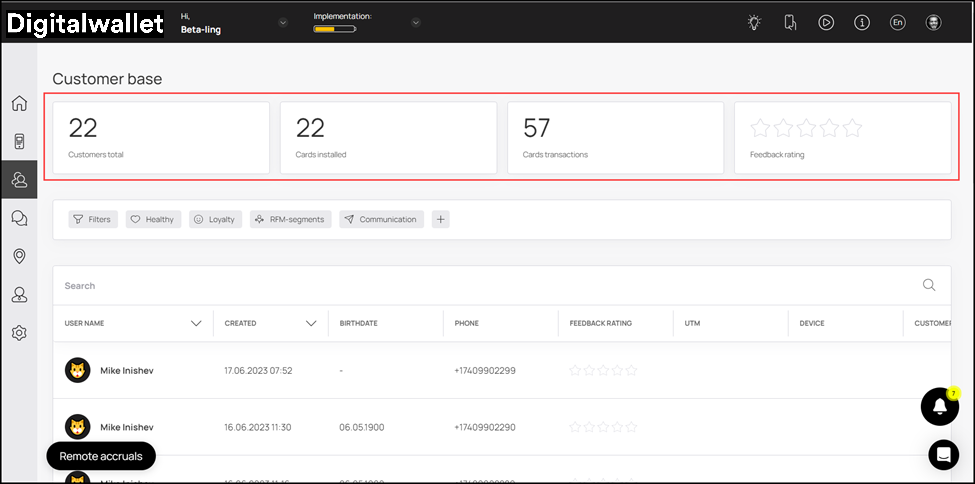
4. Next up is the customers grid. Here, information for each customer is tabulated via a number of columns that include User Name, Created, Birthdate, Phone, Feedback Rating, UTM, Device, Customer Cards, and Custom Fields.

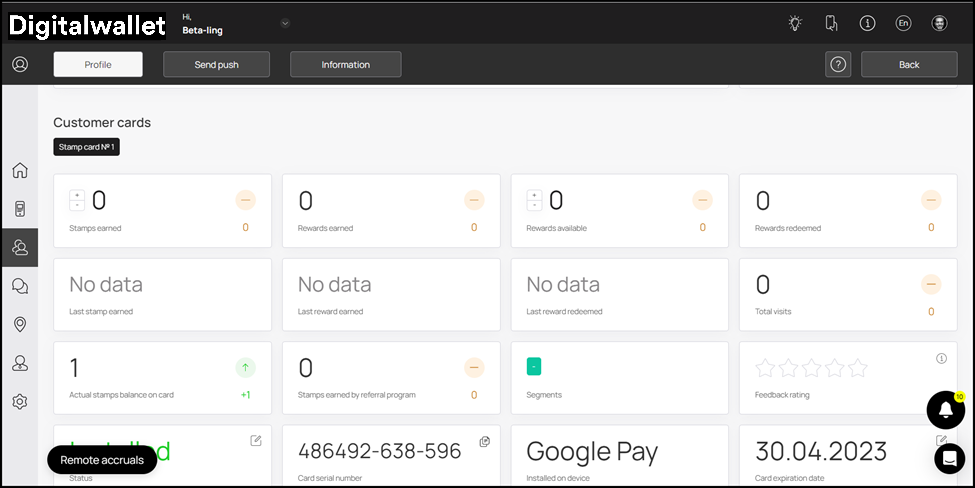
5. From here, clicking a customer profile opens the details of the selected profile. Apart from the customer name, it has the details of the cards issued to the selected customer.
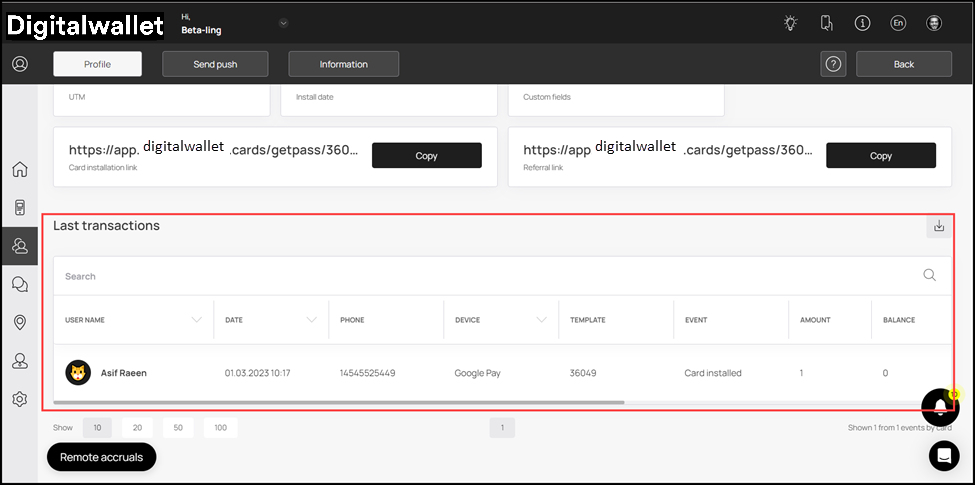
6. Scrolling down further, you can see the card installation and referral links. You can click the Copy button to copy and send the link to a customer.

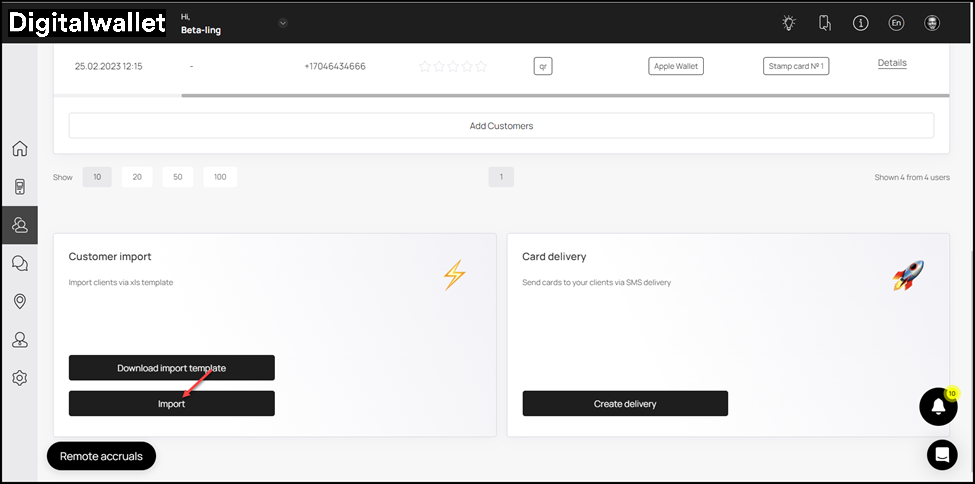
7. Next up is the Customer Import tile. This allows you to import customer records in bulk via a .CSV file. Digital Wallet keeps an import template for your ease that can be downloaded by clicking the

button.
8. Once downloaded, you can fill in the fields as per your requirement. Once updated, choose this file from your system storage upon clicking the

button.
Create Customer Profile
Digital Wallet > Left-Hand Menu > Customers
1. Follow the above-mentioned workflow to land on the Customers screen.
2. Navigate to the customers grid.
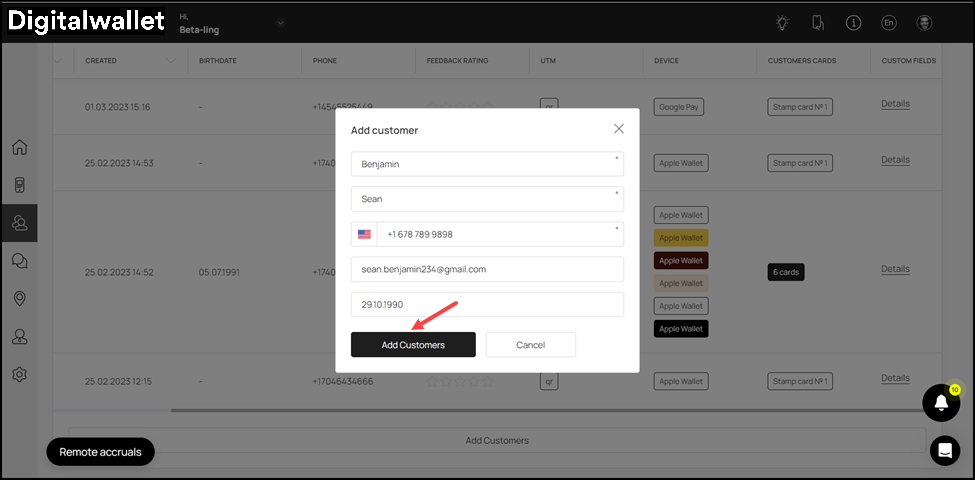
3. From the bottom of this grid, click the

button. Doing so opens the Add Customer popup.

4. Here, enter the last name of the customer using the Last Name field.
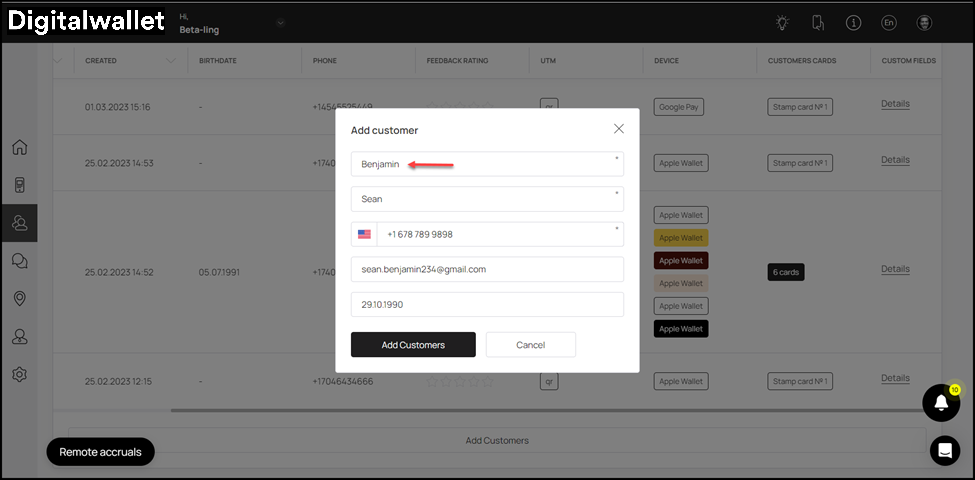
5. Similarly, use the First Name field to record the first name of the customer.

6. Use the Contact Number field to record the contact number of the customer.

7. Enter the email address of the customer using the Email Address field.

8. Record the date of birth of the customer using the Date of Birth date selector.
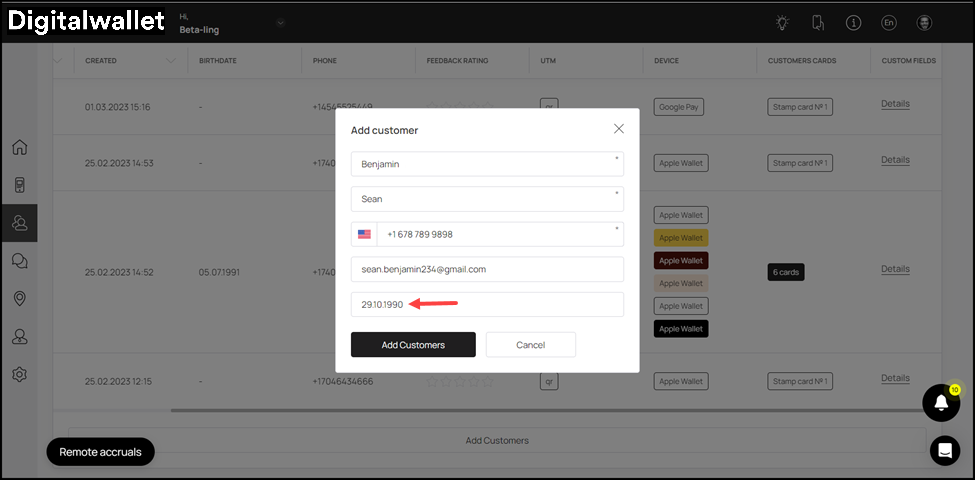
9. Once the required details are recorded, click the

button. This adds the customer profile and it is displayed in the customers grid.