Explore how the geolocations feature works in Onigiri Loyalty Platform
Onigiri Loyalty Platform > Left-Hand Menu > Locations
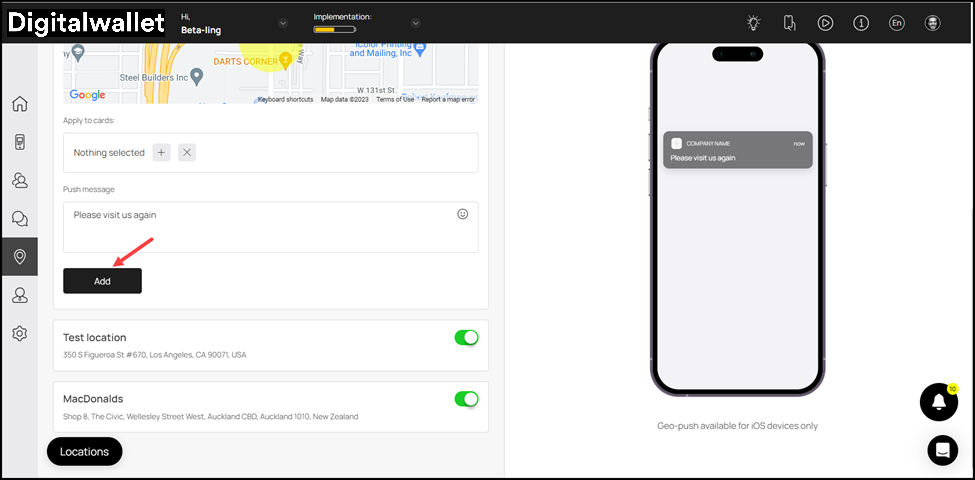
1. Follow the above-mentioned workflow to land on the Locations screen.
2. To create a geo-push, click the

button.

3. This reveals a list of fields for the details of the location and geo-push message to be recorded.
4. Use the Location Name field to enter the name of the location.

5. Enter the address of the location in the Location Address field. As you type, the suggestions are auto-populated.
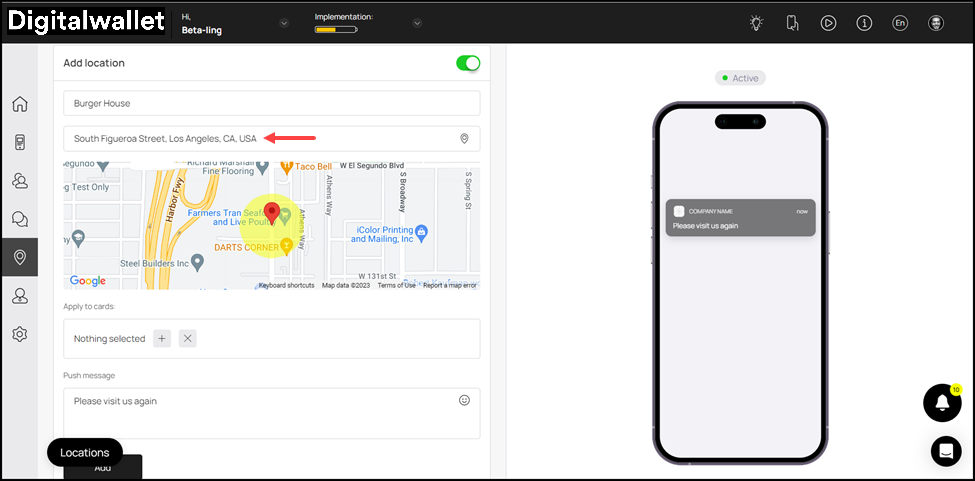
6. Use the pin on the map view to set the exact location on the map.

7. Select the card(s) to which you want to associate this location and geo-push message using the Apply to Cards field.
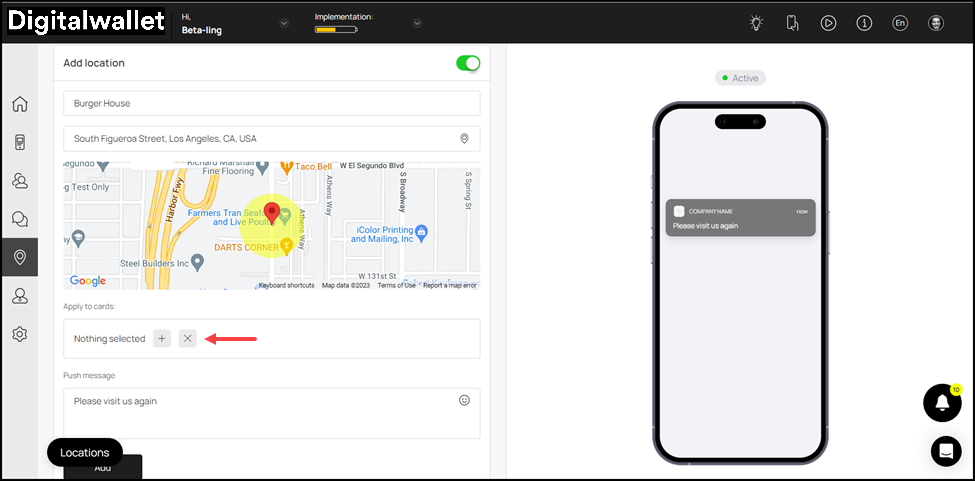
8. Enter the geo-push message in the Push Message textbox. This push notification is sent to all the users in a specific radius of the location.

9. Once the details are recorded, click the

button. This adds the location and displays it in the list.