Learn how the triggered auto-push feature works
Custom auto-push facilitates sending push notifications at an event and time of your choosing. You For instance, you can define what is sent to the customer when they install a card or a coupon. Moving further, let us take a look at how this feature is used.
Onigiri Loyalty Platform > Left-Hand Menu > Push
1. Following the workflow mentioned above, you land on the Push screen.
2. From the tabs listed atop the screen, click Custom Auto-Push.

3. Navigate to the Add auto-push heading. Here, choose the event to trigger the push automation from the Select trigger to start auto-push dropdown.

4. Doing so reveals a number of fields to define the criteria for the selected condition.
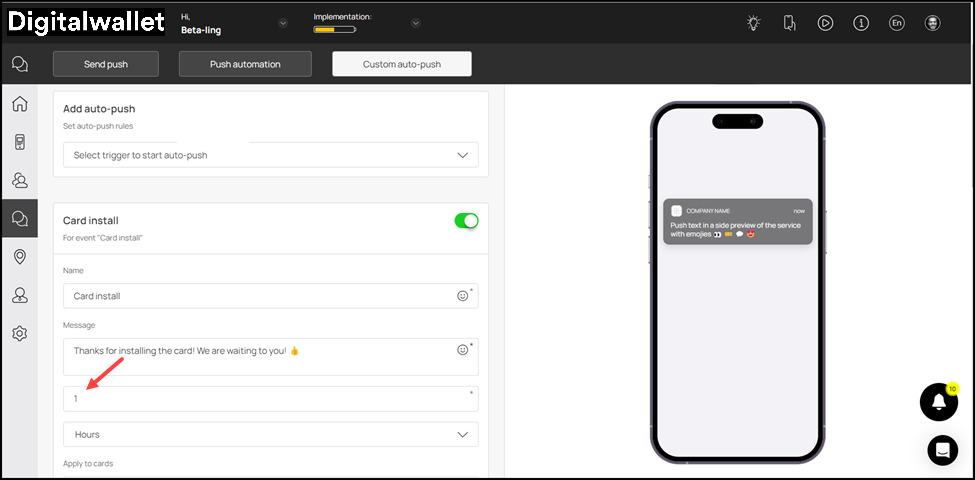
5. Enter the message you want to be displayed in the push notification using the Message textbox.

6. Enter the count of time upon trigger event after which the push notification is sent using the Message to be displayed after field.
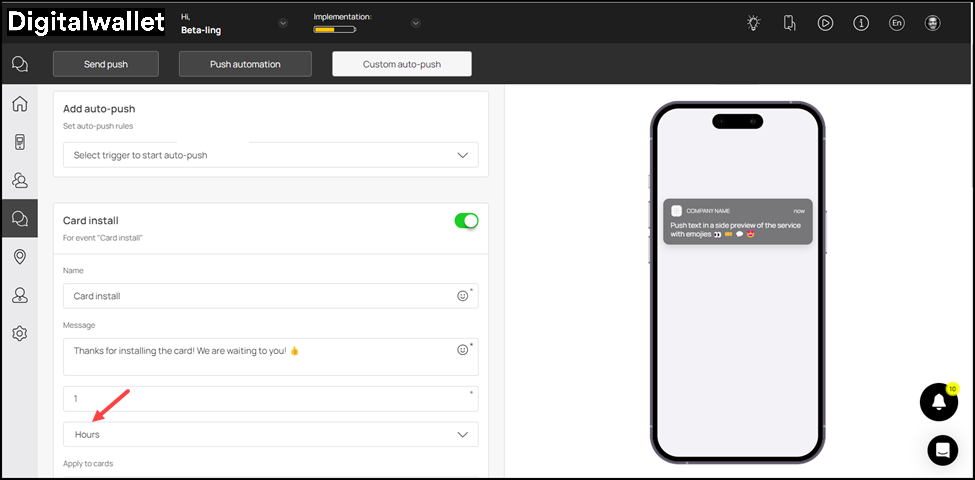
7. Select the measure of time (minutes, hours, days, etc.) from the time dropdown.
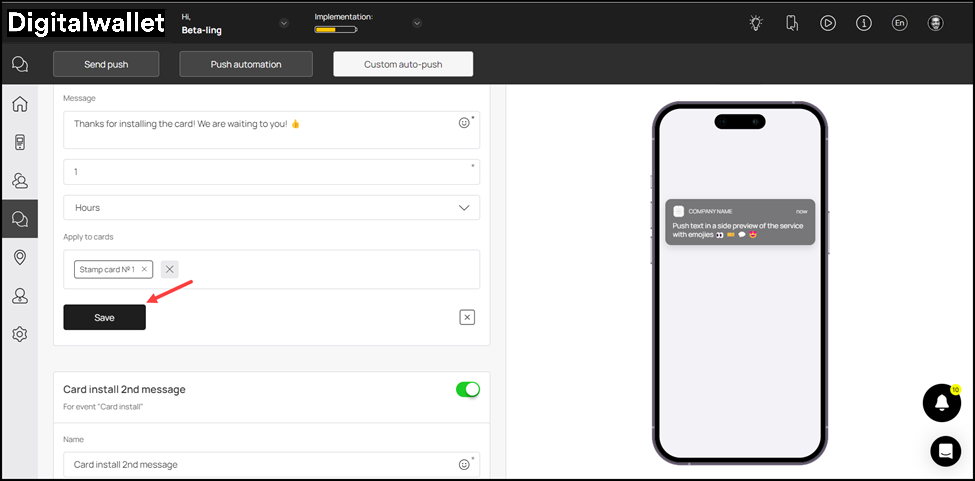
8. Add the card to which you want to apply the card install trigger using the cards field.

9. Once the selections are made, click the Save button.